Few chores feel as thankless as scrubbing a crusted, greasy oven after a big meal. When stains bake on, usual sprays smell harsh, sting your nose, and still leave dull streaks behind. A small dishwasher tablet quietly changes that, cutting through grime with far less effort. With the right steps, you loosen old spills, protect delicate surfaces, and bring back clear glass. Cleaning shifts from dreaded task to quick, controlled routine.
Why Dishwasher Tablets Transform Tough Grease
Tablets blend mild abrasives and surfactants that lift baked-on fat, sauce spills, and smoky residue. Because the pad is firm, pressure stays controlled, and messes release rather than smear. The combo replaces multiple products, then moves from rack to wall to door without switching tools, even on oven grime.
You still avoid the harshness of strong lye sprays. Tablets cut through films while remaining manageable in a small, wet puck. Because the surface stays damp, residue emulsifies instead of dusting the air. That means fewer odors, clearer breathing, and less worry about splash-back onto nearby counters or floors.
Prep is minimal. Moisten the tablet just enough to soften its outer coating without crumbling the core. Then, use slow circles and moderate pressure on each spot until it fades. When stains lift, a quick wipe collects the slurry. Finish with a fresh, damp cloth to remove the remaining film.
Safe Rules Before You Touch Your Oven
Skip tablets with chlorine bleach, which can create toxic fumes during cleaning or the next heat cycle. Never pair bleach with ammonia, hydrogen peroxide, or acids such as vinegar. That combination risks dangerous reactions and lingering odors that cling to the cavity and door glass.
Work only on a cool oven to protect the glass and enamel. Open a window or run a vent, so vapors disperse quickly. Wear rubber gloves to shield skin from detergents, and keep pets or kids away from the area. A small test on a hidden patch helps confirm the surface tolerates light abrasion.
Keep the routine simple and controlled. Dampen sponges and cloths rather than soaking them. Move cleaners off seams as soon as residue lifts. Then collect any loosened crumbs after each pass. When in doubt, consult the manufacturer’s manual. These quick checks avoid haze, etching, or surprise discoloration near gaskets and trim.
How Often To Clean And What You Need
Timing depends on use. Occasional bakers can clean once a season, about every three months. Frequent cooks should clean monthly so splatters never bake into stains. Wipe spills after the cavity cools. Left to char, foods smoke during preheat and bake cycles; that smoke irritates lungs and perfumes everything inside.
Gather tools before you start:
- Rubber gloves
- Dishwasher tablets
- Bowl of warm water
- Microfiber cloths
- Old towel
- Aluminum foil
- Plastic scraper
- Dustpan.
Keep a vacuum nearby if you prefer it over a pan. Set everything within reach beside the oven so motions stay short, efficient, and easy to repeat.
Protect surrounding surfaces. Lay an old towel where racks will rest later. Clear nearby counters so you’re not juggling soiled cloths and clean tools. Keep a small bin for used wipes, then swap to fresh ones as soon as they streak. Working tidy shortens the job and keeps residues from spreading.
Step-By-Step For Racks, Walls, And Glass
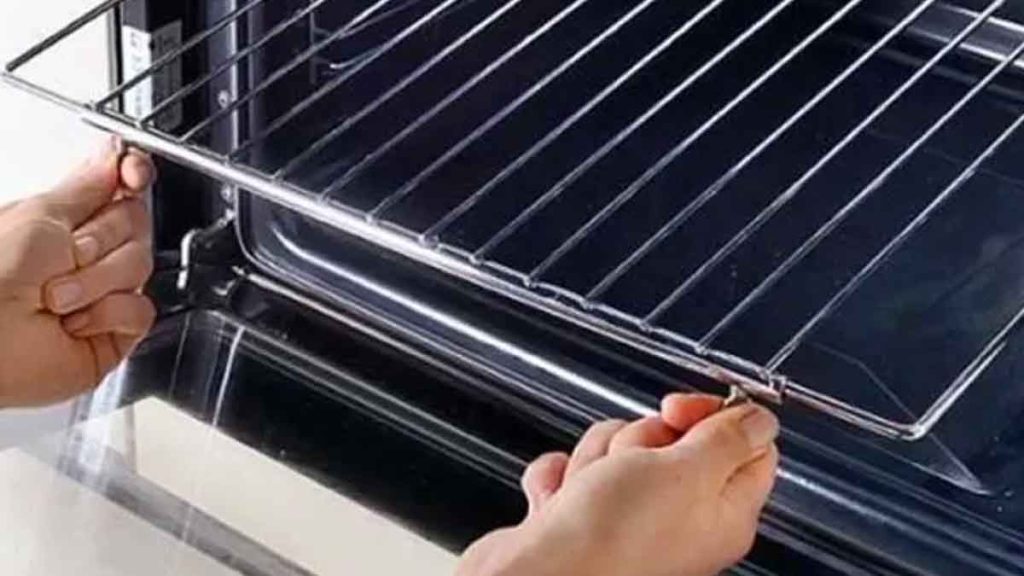
Start with racks, since soaking saves time. As Finish recommends, line the bathtub with an old towel, wrap each rack in aluminum foil, then submerge in hot water with one tablet. Leave for two to three hours so baked residue softens. That long soak reduces scrubbing and preserves the metal sheen.
While racks soak, clear the cavity. Use a plastic scraper to lift loose flakes into a dustpan, or vacuum them. Wipe the floor and walls with a damp microfiber cloth. Now, briefly wet a tablet so the coating loosens, but the body stays intact. Controlled moisture makes the scrub smooth, not gritty.
Target burnt-on oven stains with tight circles. Refresh the tablet face by rotating it as it dulls. Follow each pass with a damp cloth to collect suds and grit before they dry. When stains lift, re-wipe the area with clean water. A final pass ensures no detergent film bakes back on later.
Restore Shine, Reassemble, And Let The Oven Air-Dry
Switch to the door glass. Use a fresh tablet and light pressure, so the surface doesn’t haze. When the cloudiness disappears, wipe with a clean, damp cloth until the pane looks crystal clear. For the edges and frame, a soapy cloth works; on stubborn spots, tap the tablet gently, then rinse away suds.
Free the racks from foil once soaking ends. Residue should wipe off with little effort. Rinse each rack under clean water, then dry with a towel, so beads don’t leave marks. Slide racks back onto their rails without forcing. They should glide smoothly and align evenly across the internal supports.
Leave the oven door slightly open so moisture escapes. This prevents trapped humidity from fogging the glass or dulling the enamel. After ten minutes, do a final, quick inspection pass. If any haze returns, one damp wipe clears it. Now your cavity, racks, and door glass look ready for the next bake.
A simple routine that keeps cleaning under control
By choosing a simple tablet method, you trade harsh fumes and endless scrubbing for a lighter routine. Each small, regular clean keeps baked-on drips from taking over and helps your oven last longer. When racks, walls, and glass stay bright, cooking feels more inviting. You breathe easier, waste less time, and enjoy that quiet feeling of control each time you close the door on a spotless interior. That calm, clean space soon becomes your new normal.